Category Essential Exercises

8 Ankle Exercises to Improve Strength and Flexibility

Image by Drazen Zigic on Freepik

Ankle injuries are common, but with regular strengthening and stretching, you can prevent them and improve your overall performance. In this post, i’ll introduce 8 ankle exercises that target both the ankles and lower legs. Remember to warm up before starting any exercise routine and listen to your body. If you feel any pain or discomfort, stop the exercise and consult a medical professional.

  1. Ankle Circles

To do ankle circles, sit on a chair or bench with your legs extended in front of you. Lift one foot off the ground and make small circles with your ankle, going clockwise and then counterclockwise. Do 10-15 reps in each direction before switching to the other ankle. This exercise helps to improve the range of motion in your ankles.

  1. Ankle Pumps

To do ankle pumps, sit on the edge of a chair or bench with your feet hanging off the edge. Lift your heels off the ground and lower them back down, then lift your toes off the ground and lower them back down. This is one rep. Do 10-15 reps on each foot. Ankle pumps help to strengthen the muscles in your ankles and lower legs.

  1. Toe Raises

To do toe raises, stand facing a wall or counter with your hands resting on the surface for balance. Lift your heels off the ground and balance on your toes for a few seconds before lowering back down. Do 10-15 reps on each foot. Toe raises help to strengthen the muscles in your feet and toes, improving balance and stability.

  1. Heel Raises

To do heel raises, stand facing a wall or counter with your hands resting on the surface for balance. Lift your toes off the ground and balance on your heels for a few seconds before lowering back down. Do 10-15 reps on each foot. Heel raises help to strengthen the muscles in your calves, improving your ability to push off and jump.

  1. Ankle Alphabet

To do ankle alphabet, sit on a chair or bench with your legs extended in front of you. Lift one foot off the ground and trace the letters of the alphabet with your ankle. Do one full alphabet on each foot. This exercise helps to improve the range of motion in your ankles and can also be a fun way to mix up your routine.

  1. Heel Walks

To do heel walks, stand facing a wall or counter with your hands resting on the surface for balance. Lift your toes off the ground and walk forward on your heels for 10-15 steps before switching to the other foot. Heel walks help to strengthen the muscles in your calves and ankles, improving your ability to walk and run.

  1. Toe Walks

To do toe walks, stand facing a wall or counter with your hands resting on the surface for balance. Lift your heels off the ground and walk forward on your toes for 10-15 steps before switching to the other foot. Toe walks help to strengthen the muscles in your feet and toes, improving balance and stability.

  1. Calf Stretches

To do calf stretches, stand facing a wall or counter with your hands resting on the surface for balance. Place one foot behind you with the toes pointed forward, then lean forward and push your heel down to stretch the calf muscle. Hold for 30 seconds before switching to the other foot. Calf stretches help to improve the flexibility of your calf muscles, reducing the risk of muscle strains and cramps.

Remember to incorporate these 8 ankle exercises into your regular fitness routine to improve the strength and flexibility of your ankles and lower legs. Mix and match these exercises to create a balanced workout that targets all the major muscles in your lower body. With regular practice, you’ll be able to move more easily and with greater stability, reducing the risk of injury and improving your overall performance.

Shoulder Isometrics: Stability Exercises No Equipment

Disclaimer

Shoulder isometrics are a great way to start your exercise journey to becoming a stronger disc golfer. Shoulder stability is an important factor when looking at increasing distance, better control, and longevity in the sport. These shoulder isometric exercises (that require no equipment) will help you stay on the course longer. If you want to take your exercise to the next level check out these Shoulder Stability Exercises

Shoulder Isometrics Equipment

You can do all of these exercises without any equipment. However, you will need a wall, doorframe, tree, or sturdy immovable object. A doorframe will work best for these exercises.

Shoulder Isometrics Preamble

Shoulder isometric exercises are a great way to start getting your shoulder in-shape if you haven’t worked out before or if its been a while. As previously mentioned, you don’t need any equipment to perform these exercises. If these exercises become too easy, you can increase the difficulty by checking out Shoulder Stability Exercises

For all of these exercises you should perform each exercise 5 to 10 times. Holding each position for 10 seconds. You can also workout with Joe in the YouTube video at the bottom of the page. 

Immovable Object

Shoulder Internal Rotation

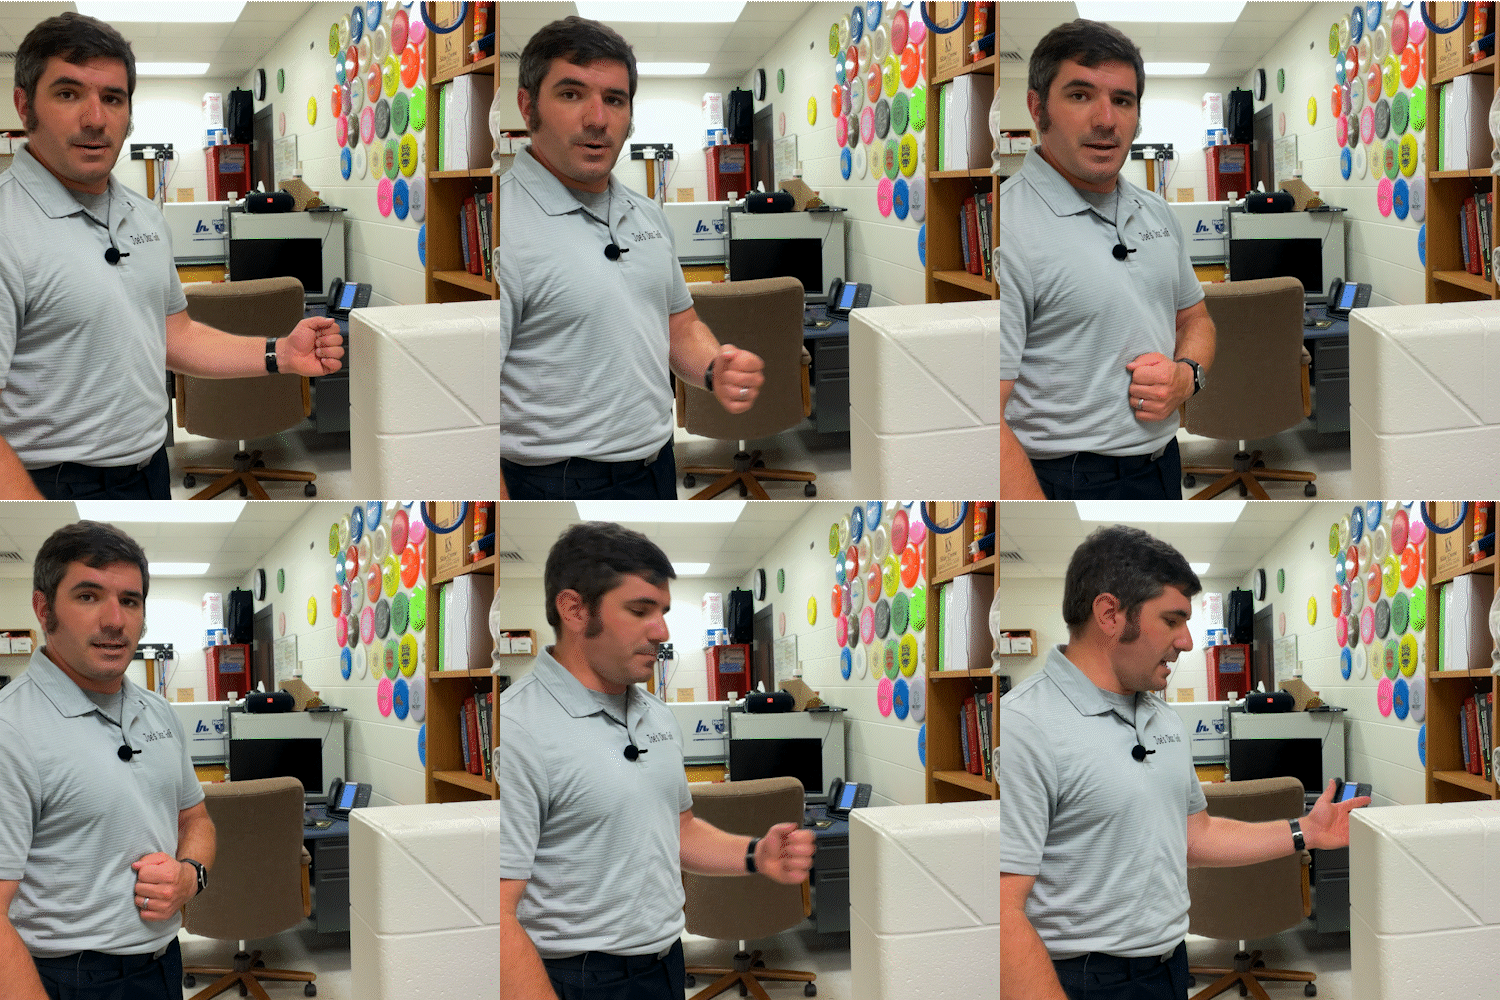
Stand with the shoulder your are exercising closer to the wall/doorframe. Start with your arm straight ahead, elbow bent to 90 degrees. You want to keep your elbow tucked into your side and stand up tall.  To help keep the elbow in tight, roll up the hand towel and hold it against your side with your elbow. Think about pinching your shoulder blades together. Have the doorframe against the inside of your wrist. Try to bring your wrist towards your stomach with maximal effort. Hold this for 10 seconds and relax. Repeat this 5 to 10 times. 

Next you want to move your wrist about halfway between the starting position and your stomach. Repeat5 to 10 times with 10 second holds.

Finally, you want to move your arm to about halfway between maximal external rotation and your starting position. Repeat5 to 10 times with 10 second holds.

Shoulder Internal Rotation Isometric

Shoulder External Rotation

Shoulder External Rotation Isometric

Stand with the shoulder your are exercising closer to the wall/doorframe. Start with your arm straight ahead, elbow bent to 90 degrees. You want to keep your elbow tucked into your side and stand up tall.  To help keep the elbow in tight, roll up the hand towel and hold it against your side with your elbow. Think about pinching your shoulder blades together. Have the doorframe against the outside of your wrist. Try to bring your wrist away from your stomach with maximal effort. Hold this for 10 seconds and relax. Repeat this 5 to 10 times. 

Next you want to move your wrist about halfway between the starting position and your stomach. Repeat5 to 10 times with 10 second holds.

Finally, you want to move your arm to about halfway between maximal external rotation and your starting position. Repeat5 to 10 times with 10 second holds.

Shoulder Flexion

Stand facing the wall/doorframe. Start with your arm at your side, elbow straight. You want to keep your elbow straight at your side and stand up tall. Think about pinching your shoulder blades together. Have the doorframe against the thumb side of your fist. Make sure you keep your wrist locked in place. Try to push your fist into the wall with maximal effort. Hold this for 10 seconds and relax. Repeat this 5 to 10 times. 

Next you want to move your fist about halfway between the starting position and the top of your shoulder. Repeat5 to 10 times with 10 second holds.

Finally, you want to move your arm backwards to about halfway between maximal extension and your starting position. Repeat5 to 10 times with 10 second holds.

Shoulder Flexion Isometric

Shoulder Extension

Shoulder Extension Isometric

Stand facing away from the wall/doorframe. Start with your arm at your side, elbow straight. You want to keep your elbow straight at your side and stand up tall. Think about pinching your shoulder blades together. Have the doorframe against the pinky side of your fist. Make sure you keep your wrist locked in place. Try to push your fist into the wall with maximal effort. Hold this for 10 seconds and relax. Repeat this 5 to 10 times. 

Next you want to move your fist about halfway between the starting position and the top of your shoulder. Repeat5 to 10 times with 10 second holds.

Finally, you want to move your arm backwards to about halfway between maximal extension and your starting position. Repeat5 to 10 times with 10 second holds.

Shoulder Abduction

Stand with the shoulder your are exercising closer to the wall/doorframe. Start with your arm straight ahead, elbow bent to 90 degrees. You want make sure you stand up tall. Think about pinching your shoulder blades together. Have the doorframe against the outside of your elbow. Try to move your elbow out from your side away from your body. Hold this for 10 seconds and relax. Repeat this 5 to 10 times. 

You want to move your arm to about halfway down at your side and the top of your shoulder. Repeat5 to 10 times with 10 second holds.

Shoulder Adduction

Shoulder Adduction Isometric

Start with the elbow at your side. remember to stand tall and pinch your shoulder blades together like you are trying to hold a ball between them. 

Try to bring your elbow through your body. Hold this for 10 seconds and relax. Repeat this 5 to 10 times.

Shoulder Stability Exercises With Bands

Shoulder stability is an important factor when looking at increasing distance, better control, and longevity in the sport. These simple exercises will help you stay on the course longer.

Shoulder Stability Equipment

This is one of the few times that Disc Golf Healthy highly recommends the use of equipment for these exercises. You can find a version of these shoulder stability exercises that use no extra equipment here

Amazon Affiliate Links

Necessary

Resistance Band

Hand Towel

Optional

Door Anchor or Door Anchor Strap

Shoulder Internal Rotation

Attach the resistance band to the door at waist height. Stand with the same shoulder closer to the wall; shoulders are perpendicular to the wall. You want to keep your elbow tucked into your side and stand up tall. To help keep the elbow in tight, roll up the hand towel and hold it against your side with your elbow. Think about pinching your shoulder blades together. Grip the resistance band; pull your hand and wrist in towards your stomach. Slowly let your arm return to the starting position. Remember speed kills, slow and controlled is far more beneficial than trying to speed through the exercise.

Shoulder Internal Rotation w/ Green Band

Shoulder External Rotation

Shoulder External Rotation w/ Green Band

Attach the resistance band to the door at waist height. Stand with the opposite closer to the wall; shoulders are perpendicular to the wall. You want to keep your elbow tucked into your side and stand up tall.  To help keep the elbow in tight, roll up the hand towel and hold it against your side with your elbow. Think about pinching your shoulder blades together. Grip the resistance band; pull your hand and wrist away from your stomach. Slowly return your hand and wrist to the starting position. Remember speed kills, slow and controlled is far more beneficial than trying to speed through the exercise.

Shoulder Flexion

Attach the resistance band to the door at waist height. Stand with your back to the wall; shoulders are parallel to the wall. You want to stand up tall. Think about pinching your shoulder blades together. Grip the resistance band; slowly bring your arm forward to shoulder height. Keep your elbow locked and wrist firm. Slowly bring your arm back down to your side. Remember speed kills, slow and controlled is far more beneficial than trying to speed through the exercise.

Shoulder Flexion w/ Green Band

Shoulder Extension

Shoulder Extension w/ Green Band

Attach the resistance band to the door at waist height. Stand with your front to the wall; shoulders are parallel to the wall. You want to stand up tall. Think about pinching your shoulder blades together. Grip the resistance band; slowly bring your arm backwards. Do not lean forward to try and get more motion. Keep your elbow locked and wrist firm. Slowly bring your arm back down to your side. Remember speed kills, slow and controlled is far more beneficial than trying to speed through the exercise.

Shoulder D1 Pattern

Attach the resistance bad to the bottom of the door. Start with shoulders perpendicular to the wall with the shoulder you’re moving closer to the door. Grip the resistance band with the back of your hand facing forward. Begin to bring your hand up to your opposite shoulder, rotating your wrist to face your chin and flexing the elbow. Think about kissing your bicep to maintain proper form. Slowly bring your arm back down to your side. Remember speed kills, slow and controlled is far more beneficial than trying to speed through the exercise.

D1 Shoulder w/ Green Band

Shoulder D2 Pattern

D2 Shoulder w/ Green Band

Attach the resistance band to the top of the door. Start with the elbow at shoulder height and wrist extended while holding the resistance band. Think about a server holding a try of food. Flex the wrist, extend the elbow, and rotate the shoulder to the opposite hip. Thinking about trying to put a sword back in the sheath. Slowly return to the starting position. Remember speed kills, slow and controlled is far more beneficial than trying to speed through the exercise.