Shoulder stability is essential when looking at increasing distance, better control, and longevity in the sport. These simple exercises will help you stay on the course longer.
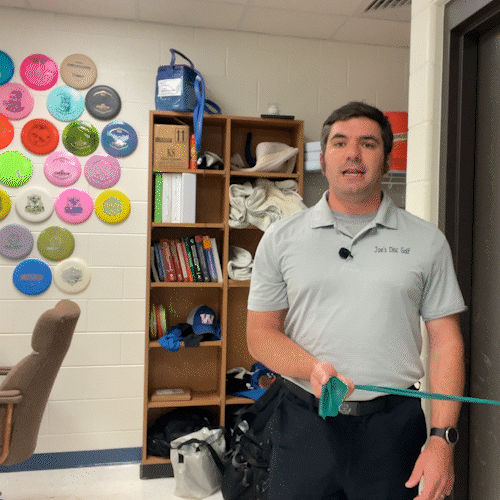
Shoulder Stability Equipment
This is one of the few times that Disc Golf Healthy highly recommends using equipment for these exercises. You can find a version of these shoulder stability exercises that use no extra equipment here.
Amazon Affiliate Links
Necessary
Resistance Band
Hand Towel
Optional
Door Anchor or Door Anchor Strap
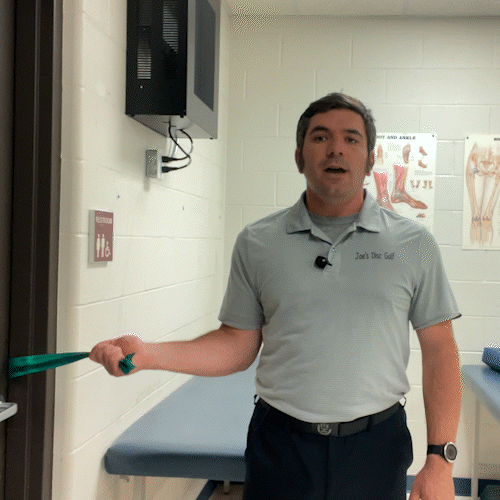
Shoulder Internal Rotation
Attach the resistance band to the door at waist height. Stand with the same shoulder closer to the wall; shoulders are perpendicular to the wall. You want to keep your elbow tucked into your side and stand tall. To help keep the elbow tight, roll up the hand towel and hold it against your side with your elbow. Think about pinching your shoulder blades together. Grip the resistance band; pull your hand and wrist towards your stomach. Slowly let your arm return to the starting position. Remember, speed kills; slow and controlled is far more beneficial than trying to speed through the exercise.
You want to perform this exercise in 3 sets of 10 repetitions.
Shoulder External Rotation
Attach the resistance band to the door at waist height. Stand with the opposite closer to the wall; shoulders are perpendicular to the wall. You want to keep your elbow tucked into your side and stand tall. To help keep the elbow tight, roll up the hand towel and hold it against your side with your elbow. Think about pinching your shoulder blades together. Grip the resistance band; pull your hand and wrist away from your stomach. Slowly return your hand and wrist to the starting position. Remember, speed kills; slow and controlled is far more beneficial than trying to speed through the exercise.
You want to perform this exercise in 3 sets of 10 repetitions.
Shoulder Flexion
Attach the resistance band to the door at waist height. Stand with your back to the wall; your shoulders are parallel. You want to stand up tall. Think about pinching your shoulder blades together. Grip the resistance band; slowly bring your arm forward to shoulder height. Keep your elbow locked and wrist firm. Slowly bring your arm back down to your side. Remember, speed kills; slow and controlled is far more beneficial than trying to speed through the exercise.
You want to perform this exercise in 3 sets of 10 repetitions.
Shoulder Extension

Attach the resistance band to the door at waist height. Stand with your front to the wall; your shoulders are parallel. You want to stand up tall. Think about pinching your shoulder blades together. Grip the resistance band; slowly, bring your arm backward. Do not lean forward to try and get more motion. Keep your elbow locked and wrist firm. Slowly bring your arm back down to your side. Remember, speed kills; slow and controlled is far more beneficial than trying to speed through the exercise.
You want to perform this exercise in 3 sets of 10 repetitions.
Shoulder D1 Pattern
Attach the resistance band to the bottom of the door. Start with the shoulders perpendicular to the wall; with the shoulder, you move closer to the door. Grip the resistance band with the back of your hand facing forward. Begin to bring your hand up to your opposite shoulder, rotating your wrist to face your chin and flexing the elbow. Think about kissing your bicep to maintain proper form. Slowly bring your arm back down to your side. Remember, speed kills; slow and controlled is far more beneficial than trying to speed through the exercise.
You want to perform this exercise in 3 sets of 10 repetitions.

Shoulder D2 Pattern

Attach the resistance band to the top of the door. Start with the elbow at shoulder height and the wrist extended while holding the resistance band. Think about a server holding a tray of food. Flex the wrist, extend the elbow, and rotate the shoulder to the opposite hip. I’m thinking about trying to put a sword back in the sheath. Slowly return to the starting position. Remember, speed kills; slow and controlled is far more beneficial than trying to speed through the exercise.
You want to perform this exercise in 3 sets of 10 repetitions.